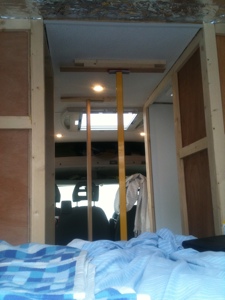
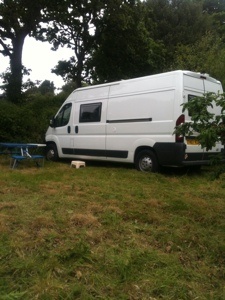
I've been busy this weekend. It was time to fit the hot water boiler. It's a Truma ultrastore 10 litre,gas only model.Its possible to add a 240v element to speed up the heating of the water.I probably won't bother as mostly we like to wild camp, so no hook up and the gas tank is 38 litres, should be enough.
Fitting was quite straight forward , once a few things are taken into consideration . Firstly the flue outlet should be more than 300mm from an opening window and 500mm from a gas filling point.The only place that I could fit the boiler is under the travel seat.Its under the window, but more than the 300mm needed, and that part of the window is fixed and more than 500mm from the gas filler point, which is the black circle to the right of the flue in pictures 1&2.
The next problem was to make sure that the flue exited above the plastic trim line.This is done by making a ply plinth for the boiler to sit on. Mine needed the hot water pipe running under the plinth.There is a gas drop out hole to the right of the boiler, and I also needed to drill a hole and fit the shower waste.
On the outside the flue is sealed with some butol mastic ( the type used for sealing gutter joints etc ).It only comes in black and is quite runny.Top tip is to buy some cheap baby wipes from lidl or similar.I find them very useful for wiping away the excess.
So that's where we are at the moment, need to connect the gas and water pipes up and then we're ready to test 😄.
The Van
Monday, 25 June 2012
Sunday, 17 June 2012
Ceiling boards & lights.
Nice and sunny this weekend, so I managed to fit the last ceiling board and wire in the four lights.I would defiantly recommend boarding the ceiling first before building any framework etc! I'm pleased with the finished article though, and the four downlights light the van well.
Also had to change the wet room ceiling.This was because I used UPVC T&G boarding, but when I came to screw up the inside of the roof vent, I found that the ceiling was too thick! So I've used an offcut of the hardglaze board which is lining the walls.There are two led lights in the ceiling.
Also had to change the wet room ceiling.This was because I used UPVC T&G boarding, but when I came to screw up the inside of the roof vent, I found that the ceiling was too thick! So I've used an offcut of the hardglaze board which is lining the walls.There are two led lights in the ceiling.
Sunday, 10 June 2012
Plumbing & Ceiling.
Plumbed the sink waste in today using 28 mm rigid push fit pipe. It's very easy to assemble and I've added a small smell trap. The rigid pipe exits through the van floor then goes into 25mm super flex pipe to the waste tank. It's a good system and the water runs from the sink quite quickly .
Also fitted two ceiling boards and three down lights. It's quite tricky cutting around the wardrobe and shower room, and in hindsight I probably would board the ceiling before building any framework. Very happy with the finished article though and hopefully cut
and fit the last board tomorrow.
Also fitted two ceiling boards and three down lights. It's quite tricky cutting around the wardrobe and shower room, and in hindsight I probably would board the ceiling before building any framework. Very happy with the finished article though and hopefully cut
and fit the last board tomorrow.
Sunday, 3 June 2012
Cornwall
We've been down to Cornwall this weekend, mainly to stay in the van and make sure that it would be able to get into the field that we use. It does!
I managed to get a temporary work surface made from a half sheet of 18mm ply.Fitted the smev sink and plumbed in the cold water.My order of waste fittings didn't arrive in time, so we had to use a bucket under the sink.
I managed to get a temporary work surface made from a half sheet of 18mm ply.Fitted the smev sink and plumbed in the cold water.My order of waste fittings didn't arrive in time, so we had to use a bucket under the sink.
Subscribe to:
Comments (Atom)


